
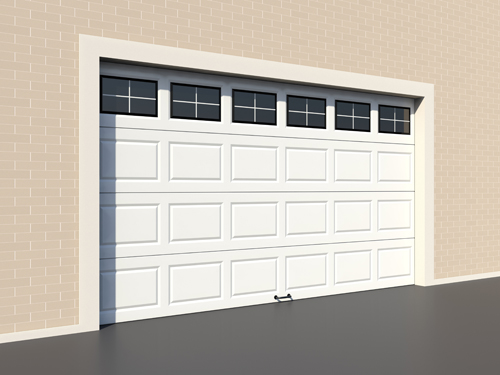
Liftmaster Garage Door Opener Installation
12/15/2013 Back To BlogHere are the steps for the installation of a Liftmaster garage door opener:
Assembling the Operator
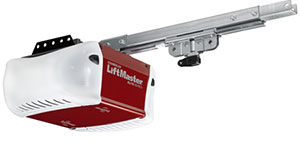
The operator is the system that allows the opener to control the garage door panel. There are two types of Liftmaster operators: chain driven and belt driven. If you want something cheap but relatively noisy, you can get a chain driven opener. If you want a quieter but expensive opener, the belt driven type would be your preference. Assembling the operator is quite easy. The package comes with detailed instructions on how to do it.
Rail Installation
To make a Liftmaster opener work, you will have to install a rail. Again, rail installation will be detailed in the manual that comes with the opener you choose. All the measurements you need are indicated in the installation guide.
Power Connection and Configuration
After everything has been set up, you need to make sure that you have the right voltage for your Liftmaster unit. Be sure that you have the right voltage or that you use an adapter to avoid damaging the opener. Once you have the device powered, check the sensors and other components to see if they are properly working. You can then program that opener according to your needs. Your unit should come with a comprehensive instruction manual to cover all possible questions you may have in mind.
A Liftmaster door opener is a good option for automatically or remotely operating a garage door. It is a well-known brand in the industry. You just have to make sure that you install it properly. Nevertheless, if any of these types of installations do not turn out as desired, the experts at garage door repair company in West University Place can help you. They know how to deal with defects in popular electronic and automatic garage door opener brands such as Liftmaster.

